


A candle is more than just a scent in a room. It’s a pause, a mood shift, a small ritual that signals it’s time to slow down, reset, or settle in. With a little care, your candle will not only burn more beautifully, it will last longer, smell better, and feel like the intentional object it’s meant to be.
Here’s our simple guide to candle care, designed to help you get a cleaner, more even burn and make the most of every candle you light.
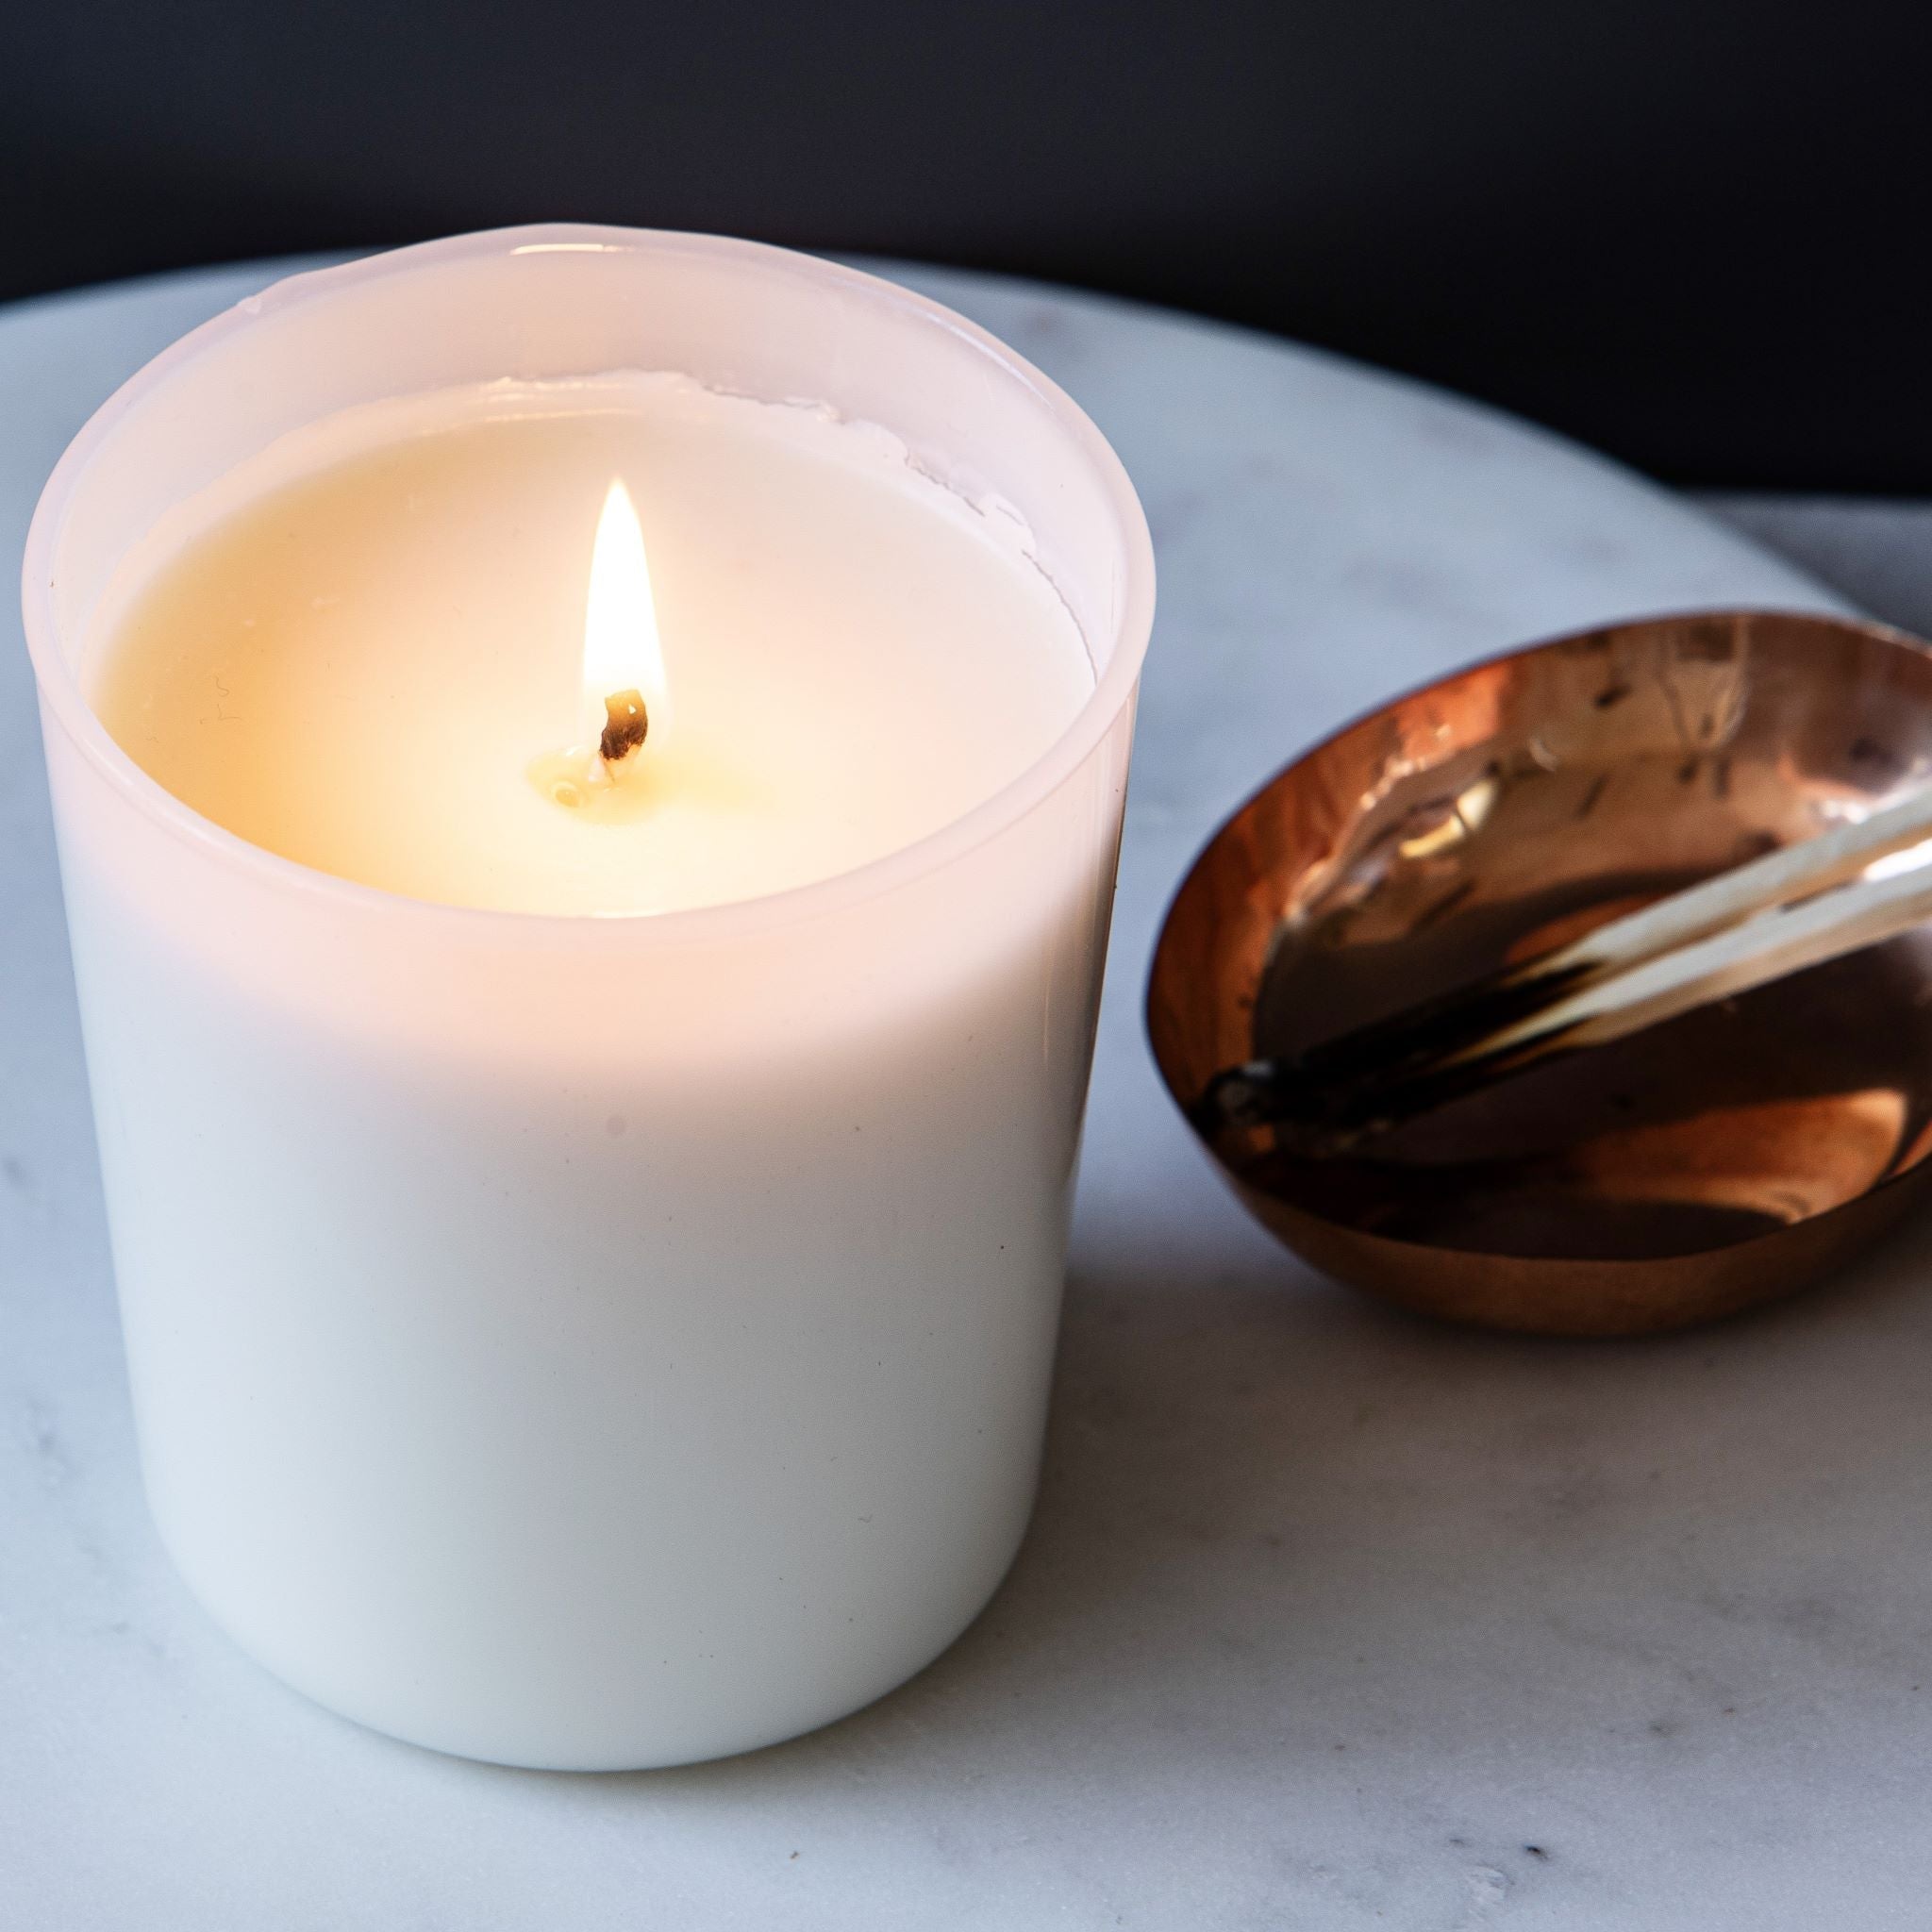
Start with the First Burn
The first burn sets the tone for the life of your candle.
When you light a candle for the first time, allow the wax to melt all the way to the edges of the vessel. This creates an even “memory” in the wax and helps prevent tunnelling, where the candle only burns down the centre and leaves wax around the sides.
As a general rule, aim to burn your candle for 2–3 hours on the first light, or until the melt pool reaches the edges. This small moment of patience makes a big difference to how your candle performs over time.
Keep the Wick in Check
Before each burn, trim the wick to about 5mm.
A shorter wick helps:
-
Create a cleaner, steadier flame
-
Reduce smoke and soot
-
Prevent the flame from getting too large
-
Improve how evenly the candle burns
If your candle ever starts to smoke or the flame looks unusually tall or flickery, extinguish it, let it cool, trim the wick, and relight. It’s a small ritual that keeps your candle burning at its best.
Let the Wax Do the Work
A good burn is slow and even, not rushed.
Try not to burn your candle for more than 3–4 hours at a time. Burning for too long can cause the vessel to overheat and the wick to mushroom, which can lead to smoke and an uneven burn.
On the other hand, very short burns can encourage tunnelling. Think of candle burning like any good ritual: unhurried, intentional, and just long enough to do its job well.
Choose the Right Spot
Where you place your candle matters more than you might think.
For the best burn:
-
Keep candles away from drafts, open windows, or air vents
-
Always place on a heat-resistant, stable surface
-
Avoid burning near curtains, shelves above, or soft furnishings
-
Keep out of reach of pets and children
Drafts can cause uneven burning, smoking, and dripping, so a calm, still spot in your space will always give you a better result.
How to Fix Common Candle Problems
Even well-made candles sometimes need a little help.
If your candle is tunnelling:
You can gently encourage an even melt by wrapping foil around the top edge of the candle (leaving an opening at the top) and burning it for an hour or two. This helps the wax melt evenly across the surface again.
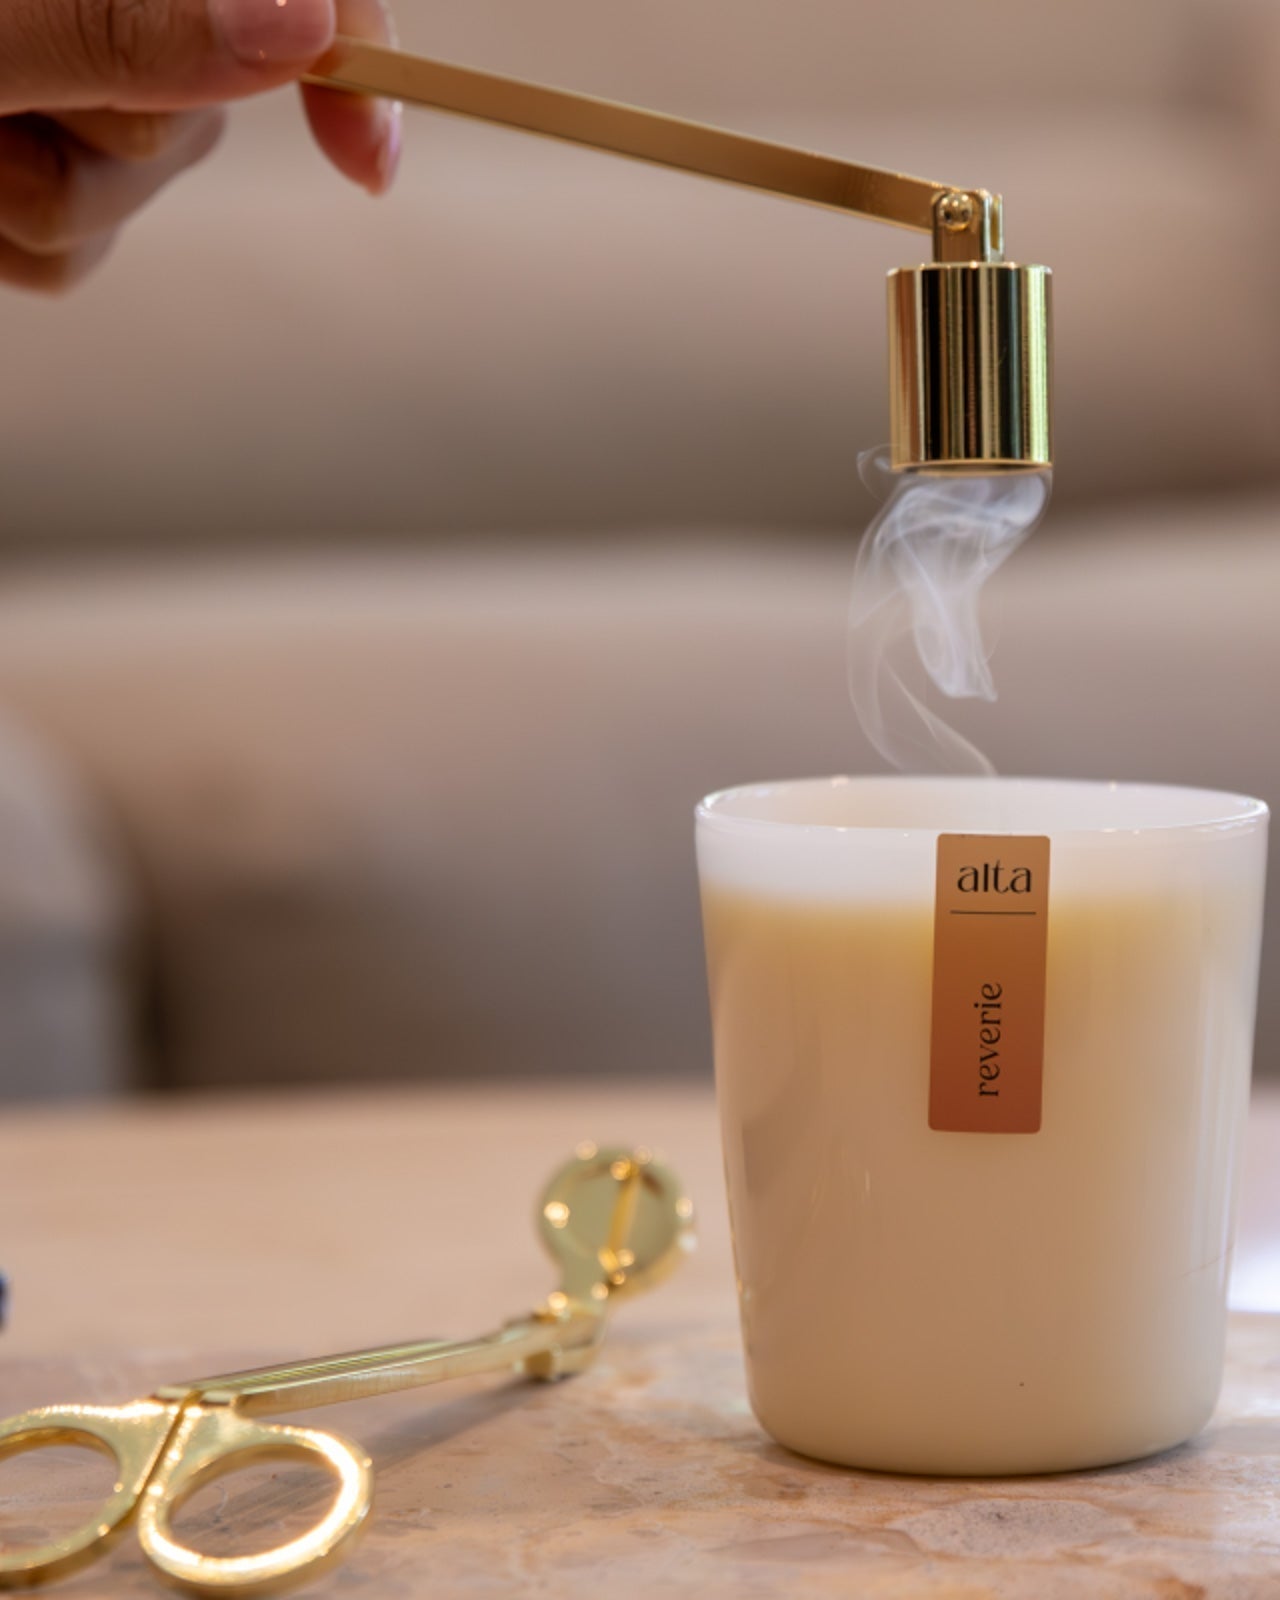
If your candle is smoking:
Extinguish it, let it cool, trim the wick, and relight. Smoking is almost always a sign the wick is too long or the flame is too large.
If the flame is too small:
Check that the wick isn’t buried in melted wax or clogged with debris. Gently straighten it and remove any excess wax if needed.
Care Between Burns
A little care between burns keeps your candle looking and performing beautifully.
-
Let the candle cool and harden before moving it
-
Keep the surface free of dust or wick trimmings
-
Store candles away from direct sunlight and heat
-
If you use a cloche or lid, place it on once the candle has fully cooled
This helps preserve both the appearance and the scent of your candle over time.
When your candle is finished
Our candle jars are perfect for repurposing into stylish drinking glasses once the candle is finished. Here’s how you can do it:
1. Remove Excess Wax:
- Place the candle jar in the freezer for a few hours. This will cause the remaining wax to harden and shrink, making it easier to remove. Use a butter knife to gently pry out the wax pieces.
2. Remove the Wick Disc:
- Add a couple of centimeters of boiling water to the candle jar and let it soak for a few minutes. This will loosen the wick disc.
- Use a spoon to carefully remove the wick disc.
3. Clean the Jar:
- Scrape any excess glue from the bottom of the jar using a scourer and some citrus oil.
- Pop the jar in the dishwasher to give it a thorough clean.
A Small Ritual That Makes a Big Difference
Candle care doesn’t need to be complicated. A trimmed wick, an unhurried burn, and thoughtful placement are often all it takes to transform how your candle performs.
More than anything, it’s about treating everyday objects with a little more intention. Because the best rituals aren’t the elaborate ones, they’re the small, repeatable moments that quietly improve the way we live.
View our Candle range HERE
View our Candle Accessories HERE


Leave a comment
All comments are moderated before being published.
This site is protected by hCaptcha and the hCaptcha Privacy Policy and Terms of Service apply.